
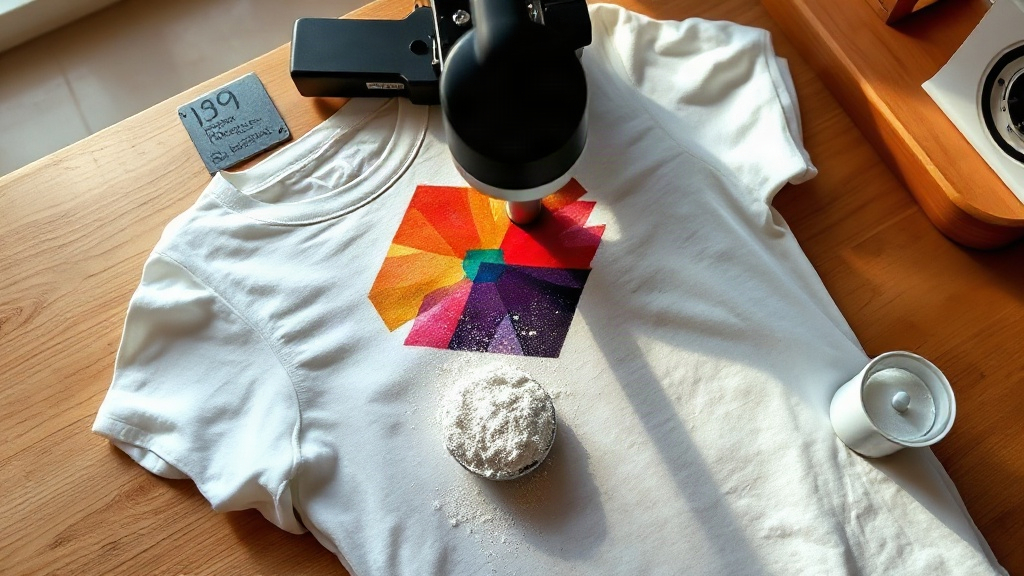
When I pressed my first DTF transfer onto a cotton tote bag, the result was a wrinkled, patchy mess that peeled within a week. That failure taught me more than any tutorial ever could. Direct-to-film printing looks deceptively simple, yet the gap between a transfer that survives fifty washes and one that cracks after two comes down to a handful of details most beginners overlook. This guide distills what actually matters so you can skip the frustrating trial-and-error phase.
What Makes DTF Different from Other Print Methods
Direct-to-film printing works by printing your design onto a special PET film using water-based pigment inks, then coating the wet ink with a hot-melt adhesive powder. After curing, the film becomes a transferable decal that bonds to fabric under heat and pressure. Unlike vinyl cutting, there is no weeding involved, which means complex multi-color designs with fine gradients become genuinely practical.
Compared to DTG (direct-to-garment), DTF transfers work on a much wider range of materials. Cotton, polyester, blends, canvas, even leather and some treated nylon surfaces accept them well. That versatility is why small print shops and hobbyists have gravitated toward this method in recent years.
Materials You Will Need
- PET transfer film (double-sided matte or single-sided, depending on your printer)
- Water-based DTF pigment inks in CMYK plus white
- Hot-melt adhesive powder (fine grade, typically 80-200 microns)
- A printer converted for DTF use, or a dedicated DTF printer
- Heat press capable of consistent 160-170°C (320-340°F)
- Heat-resistant tape and parchment or silicone paper
Step-by-Step: From Design to Finished Transfer
1. Preparing Your Artwork
Mirror your design before printing. This is non-negotiable because the transfer flips when pressed. Set your color profile to the one recommended by your ink supplier; using a generic RGB profile often produces muddy oranges and dull greens. Add a white underbase layer beneath all colored areas, otherwise the ink will look translucent on dark garments. Most RIP software handles this automatically, but double-check the preview.
2. Printing onto Film
Print on the coated side of the film. If you are unsure which side is coated, rub a fingernail across a corner. The coated side has a slight tackiness. Set your printer to the DTF preset and verify that white ink channels are firing by printing a small test strip before committing to a full sheet. Clogged white nozzles are the single most common cause of failed transfers.
3. Applying Adhesive Powder
While the ink is still wet, sprinkle hot-melt powder evenly across the printed area. Gently tilt the film and tap the back to shake off excess. You want a uniform, thin layer that sticks only where ink exists. Too much powder creates a thick, plasticky feel; too little leaves patchy adhesion. A powder shaker with a fine mesh screen makes this step far more consistent than sprinkling by hand.
4. Curing the Powder
Curing melts the powder into a smooth adhesive layer. You can use a dedicated curing oven or a heat press set to roughly 160°C for 60-90 seconds with the film placed between parchment sheets. Watch for the powder to turn glossy; that sheen signals the adhesive has fully melted. Under-cured powder looks chalky and will not bond properly.
Pressing Techniques That Actually Work
Temperature, pressure, and time form a triangle where each variable affects the others. As a starting point, set your heat press to 160°C (320°F), medium-heavy pressure, and press for 10-15 seconds. Peel the film while it is still warm for a matte finish, or let it cool completely for a glossier look. Cold peel generally produces sharper edges on fine details like small text.
Pre-press the garment for 3-5 seconds before applying the transfer. This removes moisture and wrinkles that would otherwise cause the film to shift. If your design has very fine lines, apply slightly more pressure rather than extending the time, since prolonged heat can distort the adhesive layer.
Common Problems and Quick Fixes
- Transfer peels after washing: Increase pressure or extend press time by 5 seconds.
- Color looks faded: Check that your white underbase is thick enough and ink is not expired.
- Powder not sticking: Your ink may be drying before powder application; work faster or increase ambient humidity.
- Cracks in the design: Reduce stretch during pressing and avoid over-stretching the garment when wearing.
Washing and Longevity Tips
Turn garments inside out before washing and use cold water on a gentle cycle. Avoid fabric softeners, which leave a residue that gradually breaks down the adhesive. Tumble dry on low or hang dry. Following these habits, a well-made DTF transfer typically outlasts the garment itself, which is a far cry from my early wrinkled tote bag disaster.
Keep a small notebook logging your press settings for each fabric type. After a dozen jobs, you will have a personalized reference that beats any generic chart, because your press, your ink, and your climate all influence the outcome.
Frequently Asked Questions
Can I use DTF transfers on 100% polyester athletic wear?
Yes, and polyester is actually one of the easiest fabrics for DTF. Lower your press temperature slightly to around 150°C to avoid scorching or dye migration, and use light pressure. The transfer bonds well and stretches with the fabric without cracking.
How long do DTF transfers last on a shirt?
With proper pressing and cold-water washing, most transfers last 50 or more wash cycles. Longevity depends heavily on curing quality and garment care. Skipping fabric softener and avoiding high dryer heat makes the biggest difference.
Do I need a special printer for DTF, or can I convert a regular inkjet?
You can convert certain Epson models with DTF ink systems and RIP software, but dedicated DTF printers offer better white ink circulation and fewer clogging issues. For occasional hobby use, a conversion works; for regular production, a dedicated machine pays for itself in reliability.
What is the difference between hot peel and cold peel DTF film?
Hot peel film is removed immediately after pressing while still warm, giving a slightly matte finish and faster workflow. Cold peel film is left to cool completely before removal, which tends to produce sharper detail and a glossier surface. The choice comes down to your design and preferred finish.
Why does my DTF transfer feel stiff or rubbery?
Excess adhesive powder is the usual culprit. Apply a thinner, even layer and shake off more aggressively. Over-curing can also stiffen the transfer, so reduce oven time once the powder turns glossy rather than leaving it in longer for good measure.