
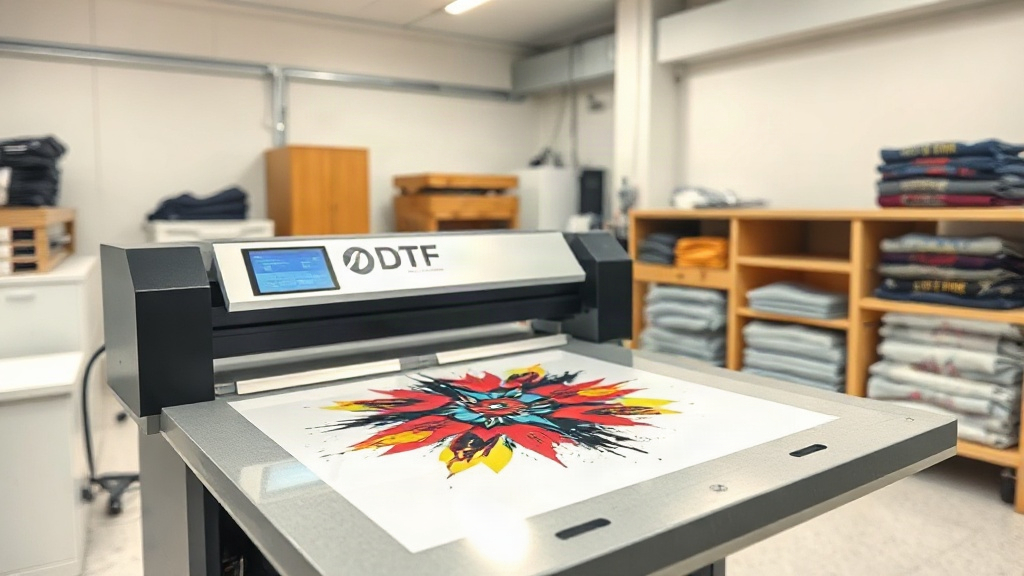
Imagine pressing a button and watching a vivid, full-color design emerge on a T-shirt, ready to withstand countless washes without cracking or fading. That's the magic of DTF printing, a digital transfer method that's taking the custom apparel world by storm. Whether you're a small business owner, a crafting enthusiast, or just curious about the latest printing trends, understanding DTF can open up a world of creative possibilities. In this guide, I'll walk you through everything you need to know to get started, from the basics to pro-level tips.
What Exactly Is DTF Printing?
DTF stands for Direct-to-Film. It's a printing technique where your design is printed onto a special film, coated with a powder adhesive, and then heat-pressed onto fabric. Unlike DTG (Direct-to-Garment), which prints directly onto the shirt, DTF uses a transfer film as an intermediary. This key difference gives DTF several advantages: it works on almost any fabric—cotton, polyester, blends, even leather—and produces incredibly vibrant colors with fine details.
The process might sound high-tech, but it's surprisingly accessible. With a good printer, quality films, and a heat press, you can set up a DTF station in your garage or spare room. The results? Professional-grade transfers that feel soft and last for years.
Why Choose DTF Over Other Printing Methods?
If you've tried screen printing or vinyl, you know each has its limitations. Screen printing is cost-effective for large orders but a pain for small batches and multi-color designs. Vinyl is great for simple shapes but can't handle photographic images. DTF bridges the gap: it's ideal for small to medium runs, handles complex artwork with gradients and fine lines, and doesn't require weeding or multiple screens.
Another big plus: DTF transfers can be applied to dark and light garments with equal success. No need for a white underbase or special pretreatments. The white ink in the DTF printer lays down a base layer automatically, so your colors pop on any background.
Step-by-Step DTF Printing Process
Ready to try it yourself? Here's a breakdown of the DTF workflow, from digital file to finished garment.
1. Design Preparation
Start with a high-resolution image (300 DPI or higher). DTF printers use CMYK plus white ink, so ensure your design is in RGB or CMYK mode. If your design has transparent areas, those will remain unprinted, letting the fabric show through. For best results, avoid very thin lines (under 1 pt) as they may not transfer cleanly.
2. Printing onto Film
Load your DTF film into the printer, shiny side up. The printer will lay down the color layers first, followed by a white layer. This white layer acts as the base, making colors opaque on dark fabrics. Some printers have a setting to mirror the image—make sure it's mirrored so it reads correctly when pressed.
3. Powder Application
While the ink is still wet, sprinkle the hot-melt adhesive powder evenly over the film. Then shake off the excess. You can use a powder shaker for large batches, but for small jobs, a simple spoon works. The powder sticks only to the wet ink.
4. Curing the Powder
Place the film in a curing oven or under a heat press (without pressure) at around 160°C (320°F) for 2-3 minutes. The powder melts and forms a smooth, dry layer. This step is crucial—under-curing leads to poor adhesion, while over-curing can cause the film to warp.
5. Heat Pressing onto Fabric
Preheat your heat press to 160-170°C (320-340°F). Place the transfer on the garment with the powder side down. Press for 10-15 seconds with medium pressure. Then, let it cool completely before peeling off the film. Cold peel gives the best results, leaving a smooth, stretchy finish.
Essential Materials and Equipment
To get started with DTF, you'll need:
- DTF printer: A dedicated printer with white ink circulation, like those from Epson or Roland.
- DTF film: Available in rolls or sheets; choose a quality brand for consistent results.
- Hot-melt powder: Typically TPU-based, available in fine or coarse grades.
- Heat press: A clamshell or swing-away press with accurate temperature control.
- Curing oven (optional): For larger operations, a conveyor oven speeds up curing.
Don't skimp on quality. Cheap film can cause ink bleeding, and low-grade powder may lead to cracking. I learned this the hard way when a batch of shirts I sold started peeling after a few washes. Switching to a reputable supplier solved the problem instantly.
Common Challenges and How to Overcome Them
Even with the best equipment, you might hit a few snags. Here are solutions to frequent DTF issues:
Colors Look Dull or Washed Out
This often happens if the white layer is too thin. Increase the white ink density in your printer settings or print two white layers. Also, ensure your fabric is clean and free of fabric softener.
Transfer Peels Off After Washing
Insufficient pressure or incorrect temperature during pressing is the usual culprit. Verify your heat press settings with a infrared thermometer. Also, make sure you're using the right powder and curing it fully.
Film Feels Stiff
If the transfer feels like plastic, you might be using too much powder or over-pressing. Try a finer powder and reduce pressing time. A good DTF transfer should stretch with the fabric and feel soft to the touch.
Pro Tips for Flawless DTF Transfers
- Test your settings: Every printer, film, and powder combo behaves differently. Run test prints to dial in the perfect temperature, pressure, and time.
- Store films properly: Keep unused film in a cool, dry place to prevent moisture absorption, which can affect print quality.
- Use a lint roller: Before pressing, quickly roll over the garment to remove dust and lint. This ensures the transfer adheres evenly.
- Cold peel is key: Resist the urge to peel while hot. Waiting until the transfer is completely cool yields a smoother finish.
- Wash inside out: For longevity, advise customers to wash garments inside out in cold water and avoid bleach.
Frequently Asked Questions
How long does a DTF transfer last?
With proper application and care, a DTF transfer can last 50+ washes. It may outlast the garment itself. Always follow washing instructions to maximize durability.
Can I use DTF on 100% polyester?
Absolutely. DTF works on polyester, cotton, blends, and even leather. The key is to adjust pressing temperature for heat-sensitive fabrics—lower to 150°C (300°F) for polyester to avoid scorching.
Do I need a special printer for DTF?
Yes, you need a printer with white ink capability and a film feeding system. You can convert some Epson models, but dedicated DTF printers are more reliable for consistent production.
What's the difference between DTF and DTG?
DTF uses a transfer film, while DTG prints directly onto the garment. DTF is more versatile with fabrics and produces more vibrant colors on dark shirts. DTG is better for 100% cotton and very fine details, but requires pretreatment.
How do I price my DTF-printed apparel?
Calculate your costs: film, powder, ink, garment, and labor. Then add your desired profit margin. A common approach is to charge 2.5 to 3 times the cost of materials. Research local competitors to stay competitive.
With these insights, you're well on your way to mastering DTF printing. It's a rewarding skill that can turn your creative ideas into wearable art. So fire up your printer, grab some film, and start experimenting—your customers will love the results.