
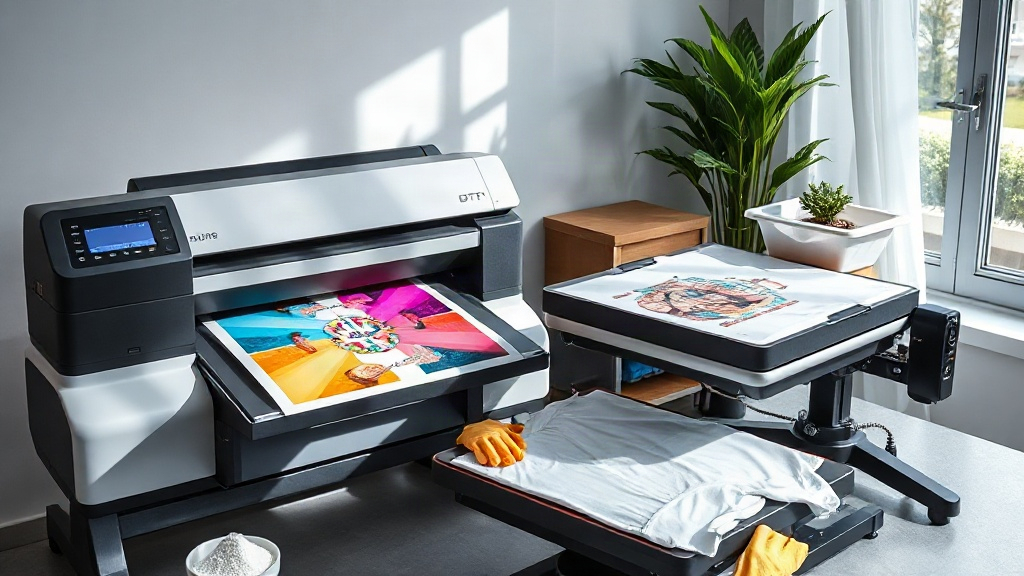
If you've been exploring custom apparel printing, you've likely encountered DTF printing. Short for Direct-to-Film, this method has quickly become a favorite among hobbyists and professionals alike for its versatility and vibrant results. Unlike other printing techniques, DTF allows you to transfer detailed designs onto a wide range of fabrics, from cotton to polyester and even blends. In this guide, I'll walk you through everything you need to know to get started with DTF printing, sharing insights from my own experience and practical tips to help you avoid common pitfalls.
What Is DTF Printing?
DTF printing is a digital printing process where your design is printed onto a special film, coated with a powder adhesive, and then heat-pressed onto the fabric. The magic lies in the adhesive powder: it melts and bonds the ink to the fabric, creating a durable, stretchable print that feels soft to the touch. Because the design is printed on film first, you can transfer it to almost any color or type of garment, including dark and light materials, without the need for pre-treatment. This flexibility is a game-changer for small businesses and DIY enthusiasts.
Why Choose DTF Over Other Methods?
You might wonder how DTF stacks up against vinyl, screen printing, or DTG. Here's why many are making the switch:
- No color limitations: Unlike vinyl, DTF can print full-color, photographic designs with gradients and fine details.
- Works on various fabrics: From 100% cotton to polyester and blends, DTF adheres well without cracking or fading.
- No weeding required: Say goodbye to tedious cutting and weeding; DTF transfers come ready to press.
- Durability: When applied correctly, DTF prints withstand dozens of washes without peeling.
- Cost-effective for short runs: No minimum order quantities, making it ideal for one-offs or small batches.
Materials and Equipment You'll Need
Before diving in, gather the right supplies. Here's a checklist based on my own setup:
Essential Supplies
- DTF printer: A dedicated DTF printer with pigment inks (CMYK plus white).
- DTF film: PET film designed for DTF printing, usually available in sheets or rolls.
- Adhesive powder: Thermoplastic polyurethane (TPU) powder, fine or medium grade.
- Heat press: A reliable heat press capable of reaching 325°F (160°C) with even pressure.
- Design software: Any vector or raster software (e.g., Photoshop, Illustrator) to prepare your artwork.
- Protective gear: Gloves and a mask when handling powder.
Optional but Helpful
- Curing oven or heat gun: For melting the powder evenly before pressing.
- Lint roller: To keep garments clean.
- Parchment paper or Teflon sheet: To protect your heat press.
Step-by-Step DTF Printing Process
Now, let's walk through the process. I'll break it down into clear steps so you can follow along easily.
Step 1: Prepare Your Artwork
Start with a high-resolution image (300 DPI recommended). Mirror the design horizontally because you'll be pressing it face-down onto the fabric. Ensure your printer's software is set to mirror automatically. For DTF, white ink is used as a base, so your design should have a white underbase layer. Most RIP software handles this, but double-check your settings.
Step 2: Print on DTF Film
Load your DTF film into the printer with the correct side facing up (usually the rough side). Print your design. The printer will lay down white ink first, then CMYK colors on top. This creates a vibrant image that pops on any fabric color. Allow the print to sit for a minute before handling.
Step 3: Apply Adhesive Powder
While the ink is still wet, sprinkle the TPU powder evenly over the printed area. You can use a powder shaker or a spoon. Gently tilt the film to remove excess powder, then tap the back to ensure an even coating. The powder should stick only to the wet ink. Wear a mask to avoid inhaling particles.
Step 4: Cure the Powder
Place the film in a curing oven at around 320°F (160°C) for 2-3 minutes, or use a heat gun until the powder melts and becomes glossy. The powder should turn from a matte white to a shiny, gel-like consistency. This step is crucial for creating a durable bond. If you don't have an oven, you can use your heat press with the film between two sheets of parchment, but be careful not to over-press.
Step 5: Heat Press the Transfer
Preheat your heat press to 325°F (160°C) with medium pressure. Place your garment on the press, then position the transfer film on top with the printed side facing down. Cover with parchment paper. Press for 15-20 seconds. Remove the garment and let it cool for a few seconds, then peel off the film in a smooth, even motion. If the design lifts, press again for a few more seconds.
Step 6: Post-Press (Optional)
For added durability, you can press the design again with a Teflon sheet for 5-10 seconds. This helps the print conform to the fabric and improves washability.
Common Mistakes and How to Avoid Them
Even with the best intentions, things can go wrong. Here are pitfalls I've encountered and how to sidestep them:
- Insufficient powder: If the powder doesn't cover the ink completely, the transfer may peel. Always check for even coverage.
- Overheating the powder: If the powder turns yellow or brown, it's burnt. Reduce curing temperature or time.
- Uneven pressure: A heat press with inconsistent pressure leads to partial transfers. Invest in a quality press.
- Wrong film side: Printing on the wrong side will ruin the film. Test with a small piece first.
- Not mirroring: Forgetting to mirror the design results in reversed text. Always double-check.
Tips for Professional Results
After countless trials, I've picked up a few tricks that make a big difference:
- Use high-quality film: Cheap film can cause ink smearing or poor powder adhesion.
- Maintain your printer: Regular cleaning prevents clogs, especially with white ink.
- Store transfers properly: Keep unused transfers in a cool, dry place to prevent powder from absorbing moisture.
- Test on scrap fabric: Before pressing onto a final garment, do a test press to dial in your settings.
- Wash inside out: Advise customers to wash garments inside out in cold water and avoid bleach to prolong the print's life.
Frequently Asked Questions
How long do DTF prints last?
With proper application and care, DTF prints can last 50+ washes without significant fading or cracking. The key is correct powder curing and pressing.
Can I use DTF on 100% polyester?
Absolutely! DTF works well on polyester, but you may need to lower the press temperature slightly (around 300°F) to avoid scorching or dye migration.
Do I need a special printer for DTF?
Yes, a dedicated DTF printer with white ink capability is necessary. However, some converters offer DTF printing services if you don't want to invest in equipment.
Is DTF printing safe for children's clothing?
When using quality TPU powder and following safety guidelines, DTF transfers are safe for all ages. Ensure proper ventilation during curing.
With these insights, you're well on your way to mastering DTF printing. Remember, practice makes perfect, so don't be discouraged by initial failures. For high-quality DTF supplies and transfers, visit DTF Pro Design (dtfprodesign.com) to explore their range. Happy printing!